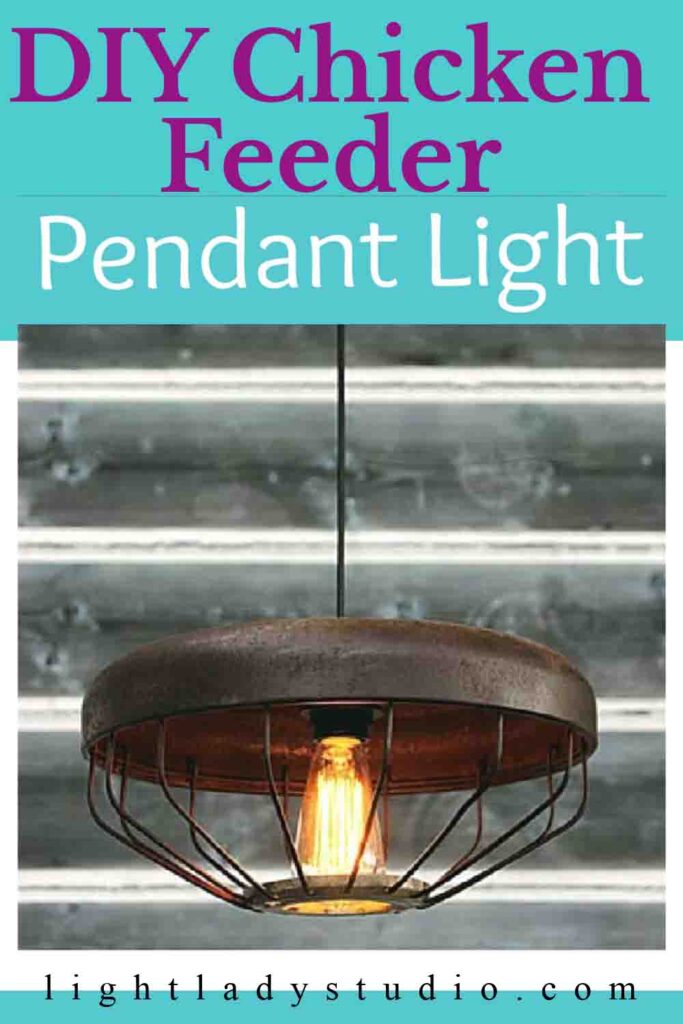
DIY Chicken Feeder Pendant Light
I’ve said it before, and I’ll say it again (more like scream it from the rooftop!) — pendant lights are one of the easiest DIY projects. If you want to transform the lighting in your home, you don’t have to spend tons of money on lamps or light fixtures. *Note: Affiliate links may be used in this post. I may receive a small commission at no extra cost to you. More details are at the bottom of this post.
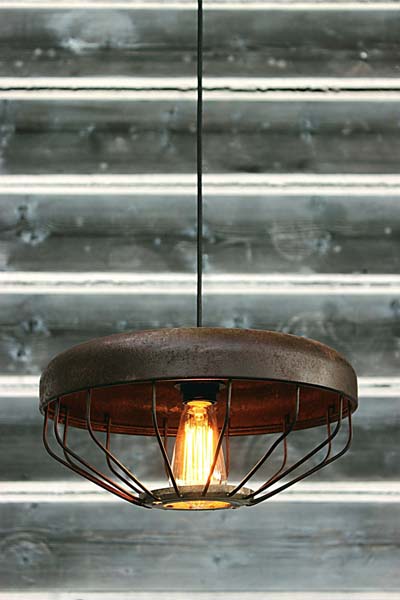
Today, I’m bringing you an easy pendant light you can make with an old chicken feeder. If you have a farmhouse-style home, keep your eye out for old chicken feeders. You’ll be able to transform them into rustic light fixtures.
Table of Contents
- Where to Purchase a Chicken Feeder Pendant Light If You’d Rather Not Make One
- Video – How to Make a Chicken Feeder Pendant Light
- Materials List
- Where to Hang Your Chicken Feeder Light
Where to Purchase A Chicken Feeder Pendant Light If You’d Rather Not Make One
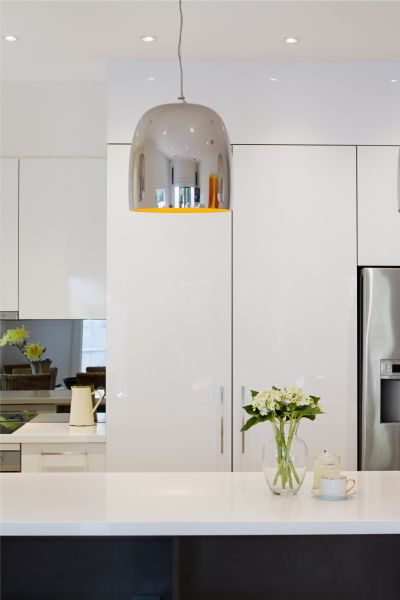
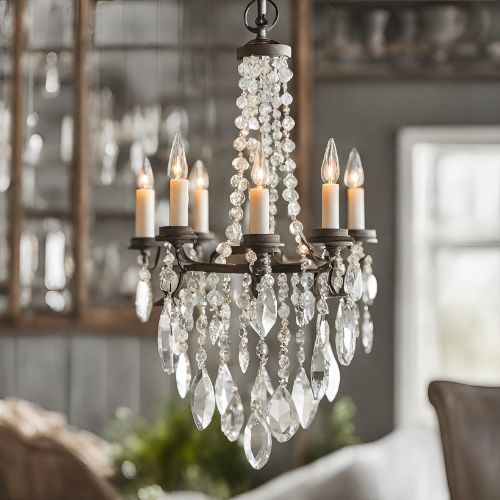
I get it, not everyone is interested in the DIY route. If you’d rather buy a pendant light instead of making one, check out these beauties on Etsy. They’re handmade and really neat. Click each photo for more information.
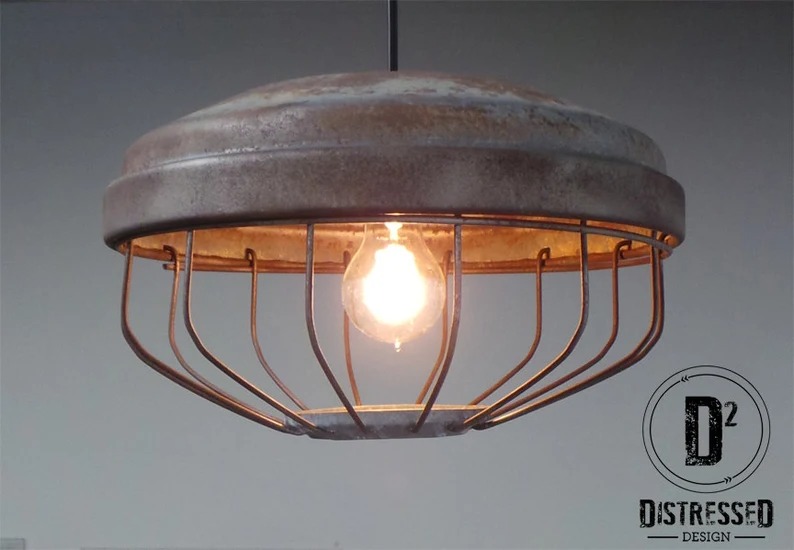
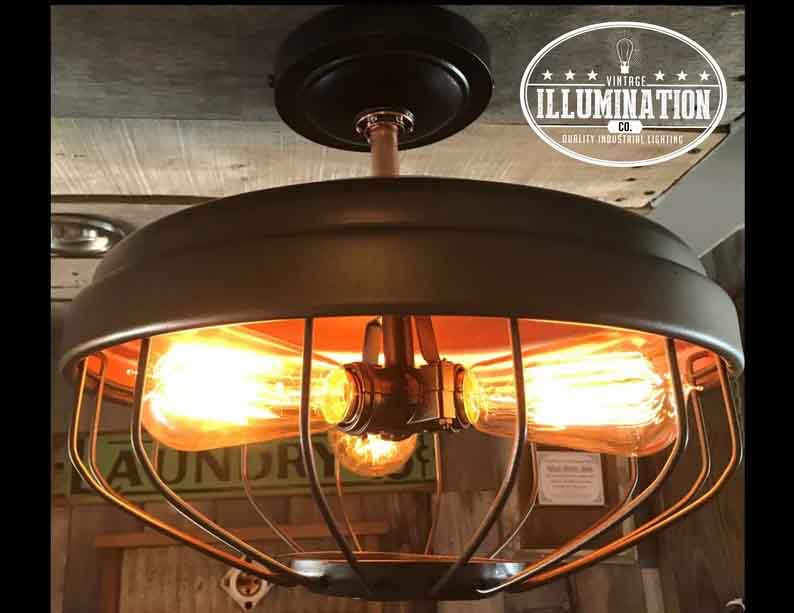
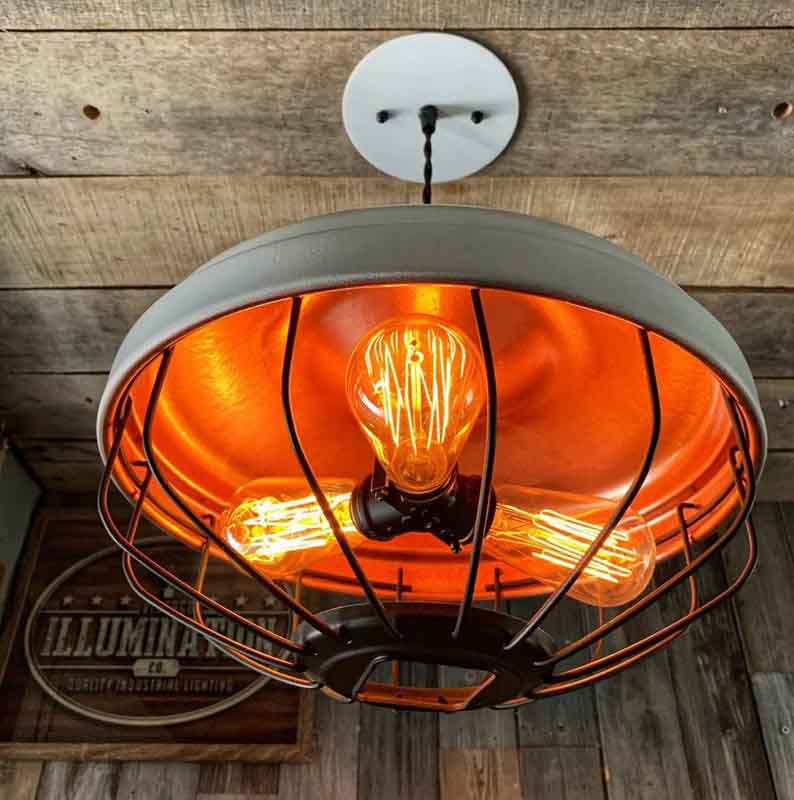
If you want to check out other types of pendant lights that you can use to decorate your home, you can check out my post on the 60 Best Pendant Lighting Fixtures.
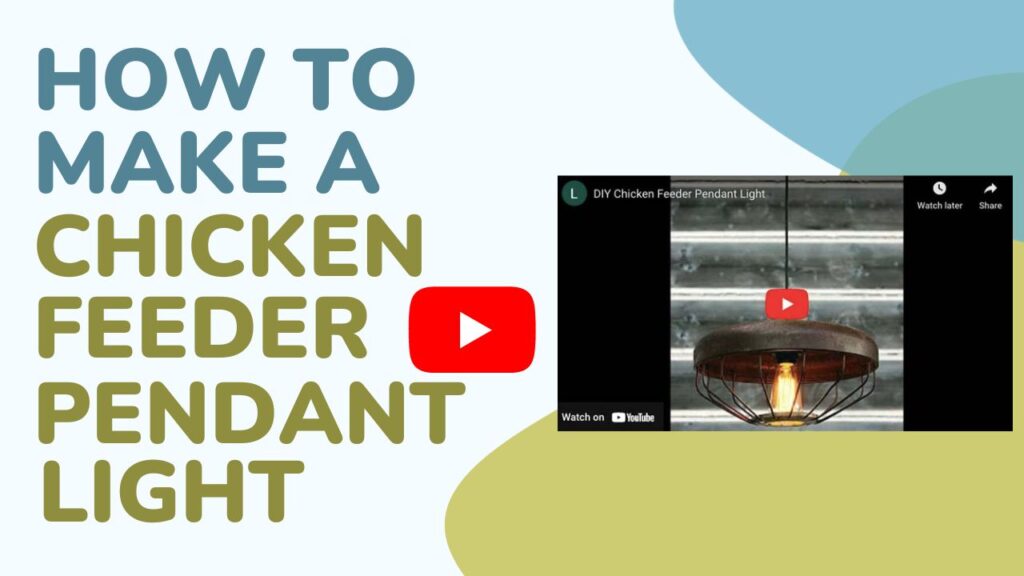
However, if you’re ready to make a pendant light – let’s do it. I filmed a video to make things easy. Check it out below. In no time, you’ll have your pendant light ready to hang.
Video – How to Make A Chicken Feeder Pendant Light
Materials List
Chicken feeder
Drill
Enamel clear coat spray
Plug-In pendant light kit
Pre-made pendant light kit
Edison light bulb
Step 1 – Locate Your Chicken Feeder
I make light fixtures, and I like to buy parts in bulk. A while back I was lucky enough to buy 300 chicken feeders from a poultry farmer in Arkansas. These feeders were the real deal. When I got them, they were still attached to their original lines (poles) for feeding the chickens- and they were nasty!
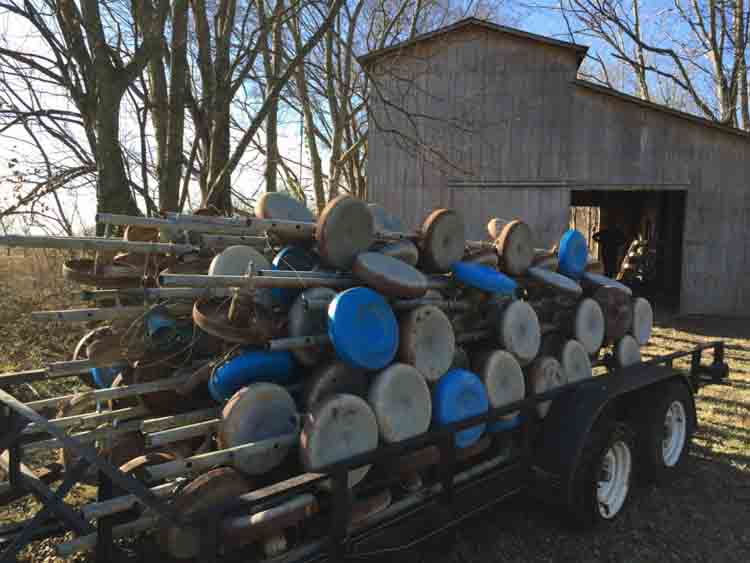
As I said, pendant lights aren’t hard to make, however, metal feeders are difficult to find. Farmers don’t use metal pans anymore. Plastic feeders are more common these days.
If you come across metal feeders, grab them. Even if you don’t want to make light fixtures out of them, you can sell them on Etsy or Ebay.
Best Places to Locate Chicken Feeders
- Poultry Farmer
- Farm Equipment Sale
- Yard Sale
- Antique Store
- Facebook Marketplace (type in the search bar – chicken feeders)
If you can’t find metal feeders in your area, check these links. Sometimes people will list feeders online.
Step 2 – Detach Feeders From the Line
If you’re able to locate a chicken feeder, most times it will be a stand-alone feeder and won’t be on a pole so you can skip this step.
If your feeder is still attached to its pole, you’ll need to use your power tool (drill) to detach it. Feeders on the line are attached by screws – and those screws are rusty and stubborn. Once you detach the feeder, separate the cage, the pan, and the inner tube.
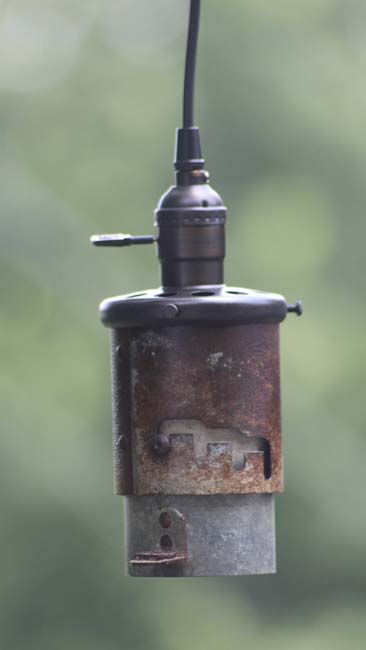
Step 3 – Wash the Feeders
Chicken feeders are nasty. I’ve never come across one that was nice and clean. You may want to wear a mask and use gloves to do this job. The best way to clean them is to hose them down with water. I recommend washing them with soap or detergent and scrubbing them with a brush to make sure you have all the gritty remnants of farm life off them. Let them air dry.
Step 4 – Create the Bulb Hole
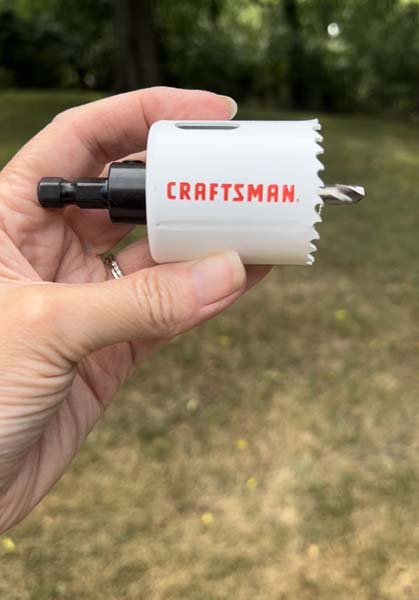
After your chicken feeder is clean and dry, on the lid, find and mark the center. This is where your socket and light bulb will go eventually, but you need to drill the hole first. To do this, I used my drill and a 1 3/4″ Craftsman Hole Saw. This will drill the hole the perfect size for you to drop in your socket.
Step 5 – Seal your Feeder
Use a clear sealer to seal the outside of your feeder. An enamel spray paint sealer works well. It gives the feeder new life. There are plenty to choose from; I like to use Rust-Oleum Clear Coat in a glossy finish.
Step 6 – Use a Premade Socket
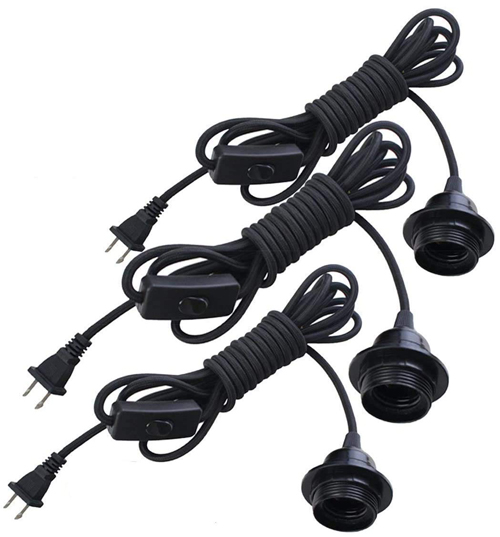
Use a premade socket to create your light fixture. You can find these online, and they’re a lifesaver! They make DIY pendant lamps so easy. Stick the socket through the hole and screw it together, so it’s fixed to your feeder. This will make it possible for you to screw your bulb in.

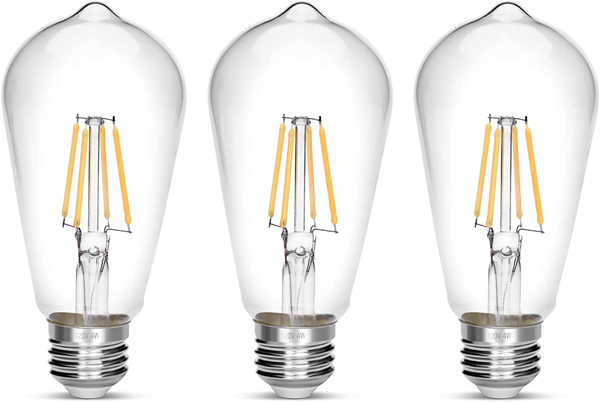
I’ve found the best bulbs to put in these chicken feeder lights are those with an industrial look. Edison bulbs are great. I recommend 40 watts.
Step 7 – Reattach the Cage
Once you have your socket and bulb attached, you can put the cage fixture back onto the feeder. And there you have it! A vintage chicken feeder fixture that’ll look great in your space.
Where to Hang Your Chicken Feeder Light
I’ve made hundreds of chicken feeder pendant lights. Where have their permanent homes been?
- Houses
- Restaurants
- Bars
- Shops
- Music venues
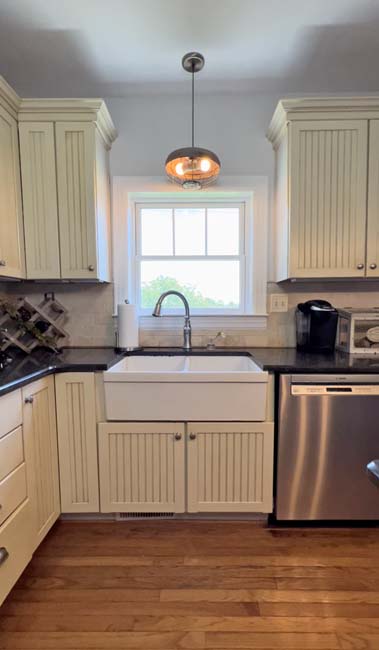
Below is a photo of the feeder I made for my kitchen. I needed extra light so I made this one a double light. It hangs over my sink and I love it.
If you’re considering crafting one for your home, here’s where I’d recommend placing it.
- In the kitchen
- Over the sink
- Over the island
- In the corner of the room
- In a man cave
- In a shop
- In a casual dining room
Final Thoughts
Which room in your house would a vintage chicken feeder pendant light be perfect for? Start scouring flea markets or other local antique shops for chicken feeders so you can craft your own and transform your space.
Until Next Time,
Cherie
Here are some related articles that you may enjoy:
How to Make a Pendant Light
How to Swag a Light Fixture that Hangs from a Cord or a Chain
Shop the 60 Best Pendant Lighting Fixtures
27 Best Kitchen Light Fixtures for Low Ceilings
50 Best Modern Farmhouse Chandeliers
How to Find the Best Lamp Repair Service
Disclosure: Please note that some links in this post are affiliate links. At NO ADDITIONAL COST TO YOU, I will earn a small commission on any purchases made.

