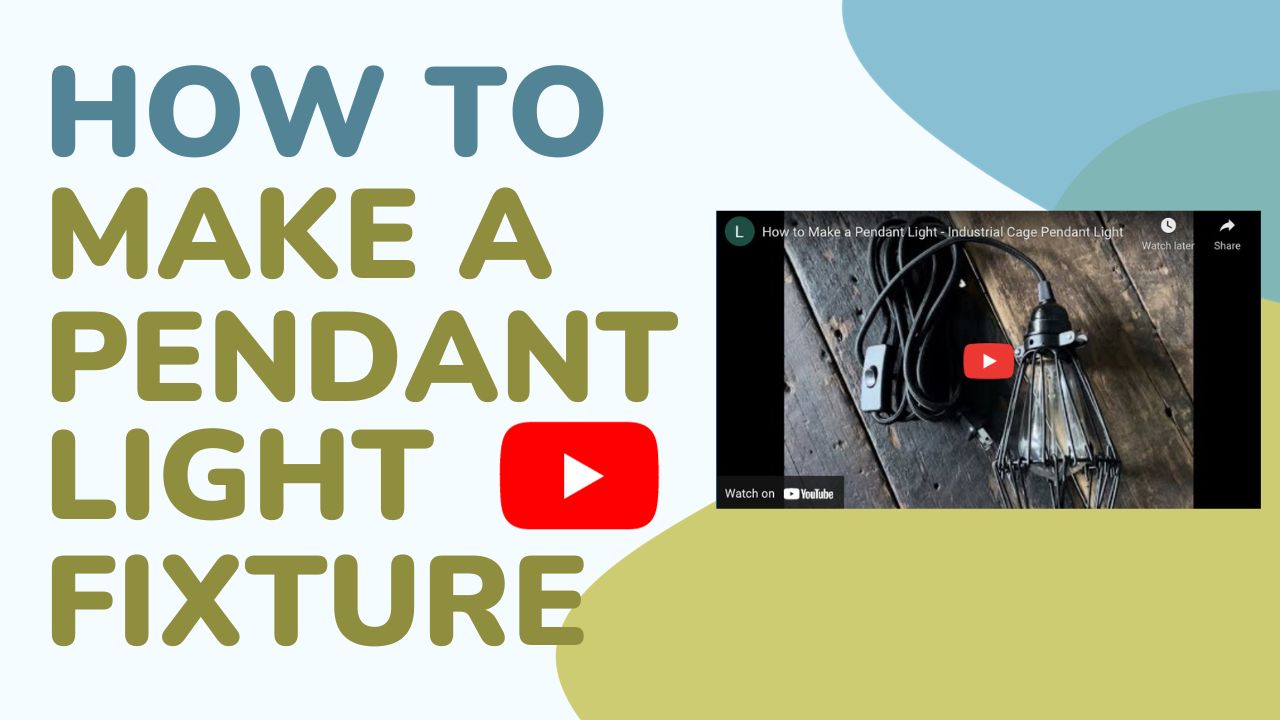
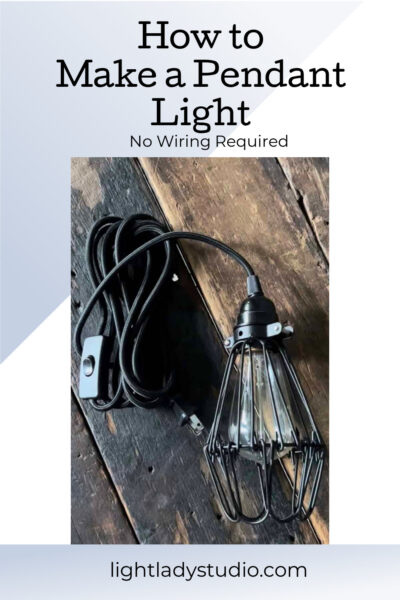
How to Make a Pendant Light: Easy Step-by-Step Tutorial
Have you seen cute pendant lights in home décor magazines or Pinterest photos? Do you want to make your own for your bedroom or breakfast nook without breaking the bank?
Pendant lamps are one of the easiest DIY lighting projects thanks to functional parts that are readily available. A pre-wired plug-in cord already armed with a socket and light switch removes the need for any electrical knowledge.
In today’s post, I’ll show you exactly what you want to buy and how to make a pendant light fixture in a matter of minutes.
Note: Affiliate links may be used in this post. I may receive a small commission at no extra cost to you. Full details are at the bottom of the post.
I’ve got all kinds of DIY pendant lighting in my Amazon Storefront where you can mix and match parts to make a beautiful pendant light – check it out below.
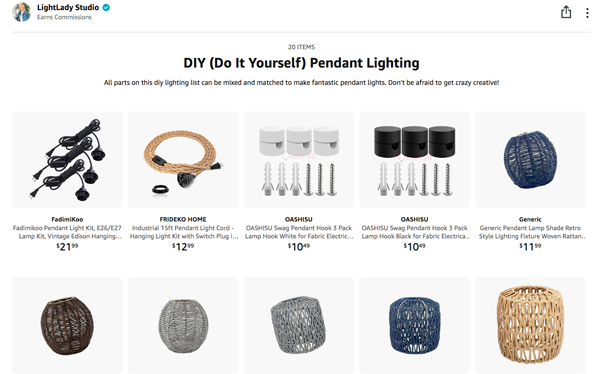
Table of Contents
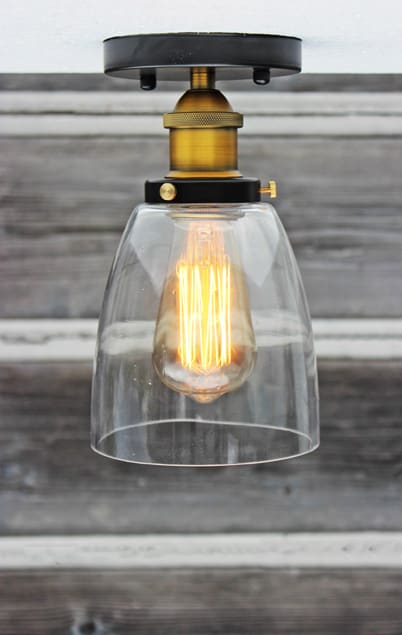
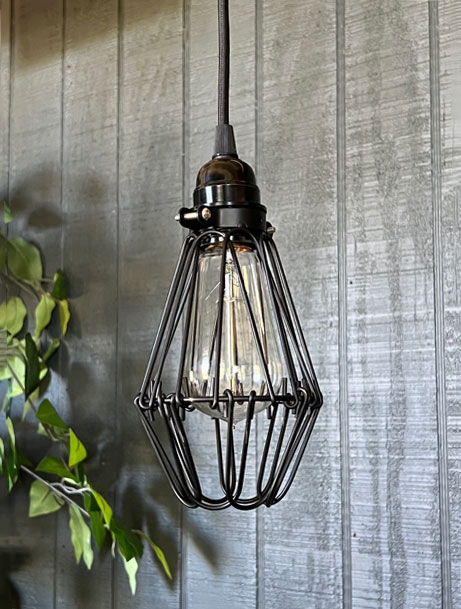
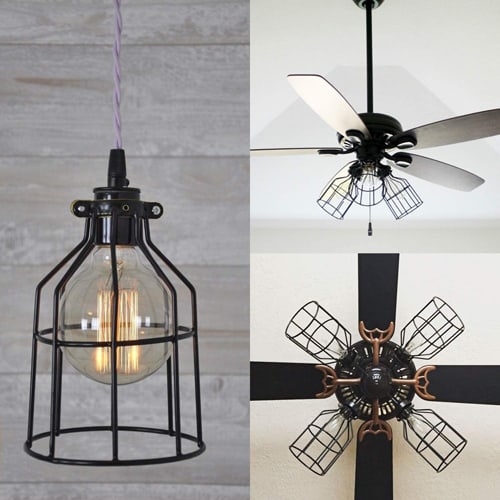
How to Make a Pendant Light Fixture with a Cage Guard
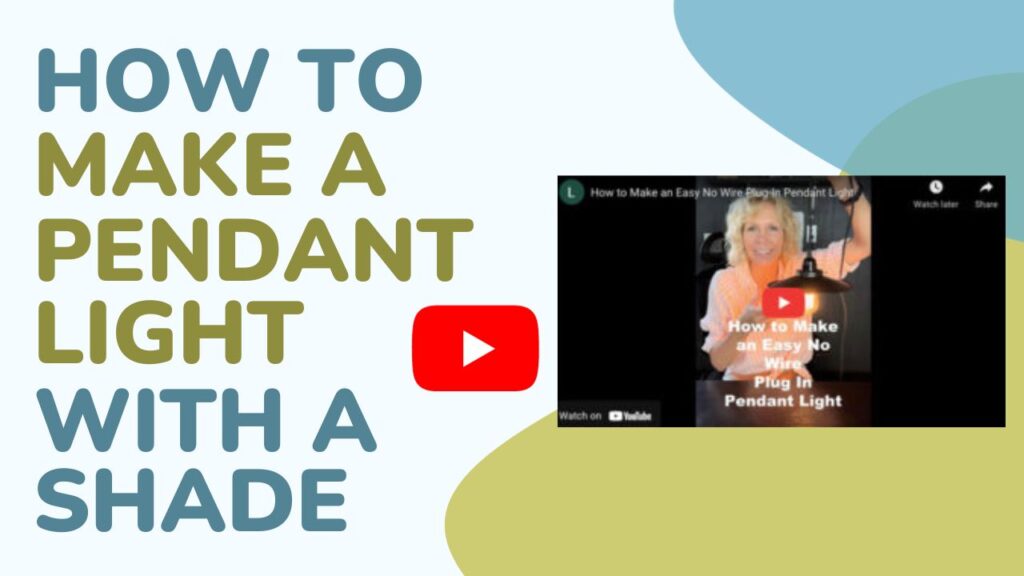
How to Make a Pendant Light with a Shade
Additional Pendant Light Projects with a Plug-in Cord
Best Places to Hang Your New Pendant Light
How to Make a Pendant Light Fixture with a Cage Guard
Here’s a quick video to refer to.
If you don’t have the time to make your pendant light just yet, you can check out my post on where to shop for the 60 Best Pendant Lighting Fixtures.
Below, I’ll link products that combine most of these parts to make the project easy. For example, the plug-in cord recommended below is a pendant light kit. It combines the socket, shade ring, strain relief, cord, light switch, and plug.
Materials Needed
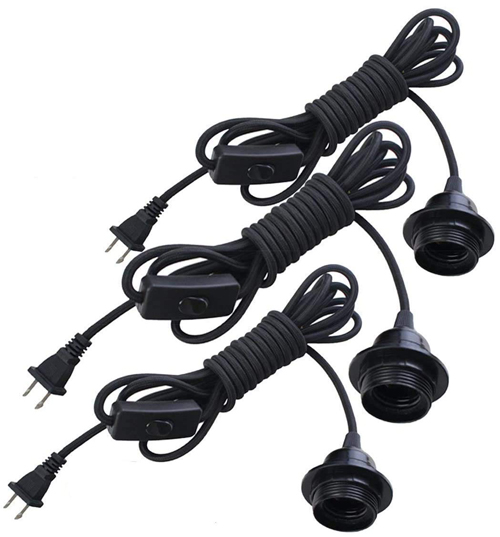
Plug-in cord with socket and light switch
Step 1 – Remove the collar from the light bulb socket
Take the plug-in cord you purchased and find the light bulb socket end. There will be a collar (also known as the shade ring) protecting the light socket that you can unscrew as your first step.
Note: Your plug-in cord will come equipped with a socket and light switch, which will save you both time and effort. There’s no advanced electrical wiring knowledge required for this project. When the hanging light is finished you’ll plug it right into the wall outlet.
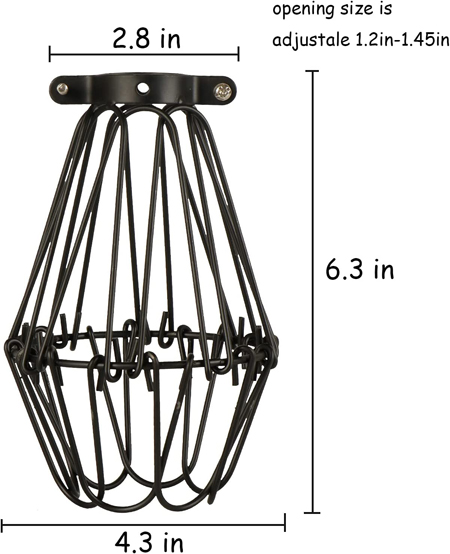
Step 2 – Attach the cage to the bulb socket
Open the cage at the top and place the socket inside of it so it is level with the base.
Place the included screws in the holes on either side of the cage to hold the socket in place. The screws should be tight enough that the socket doesn’t wiggle, but they shouldn’t be so tight that they crack the socket.
If you have trouble, it’s easiest to refer to the video above.
Sharing is Caring – I’d love for you to pin it.
Step 3 – Install your light bulb
Open the bottom of your shade to place your light bulb inside.
Leave the bottom of the shade open or closed depending on preference.
Plug it in and test it to make sure it’s working!
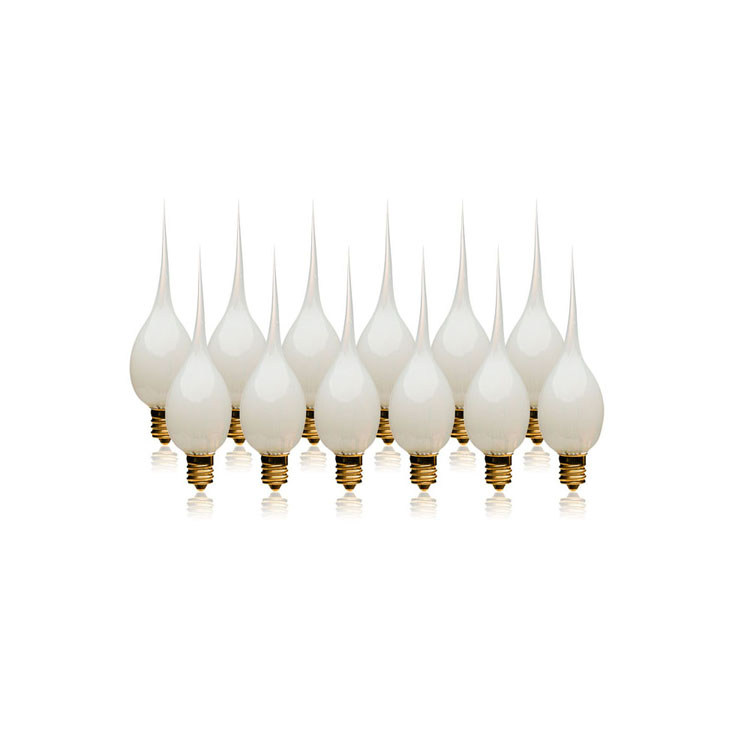
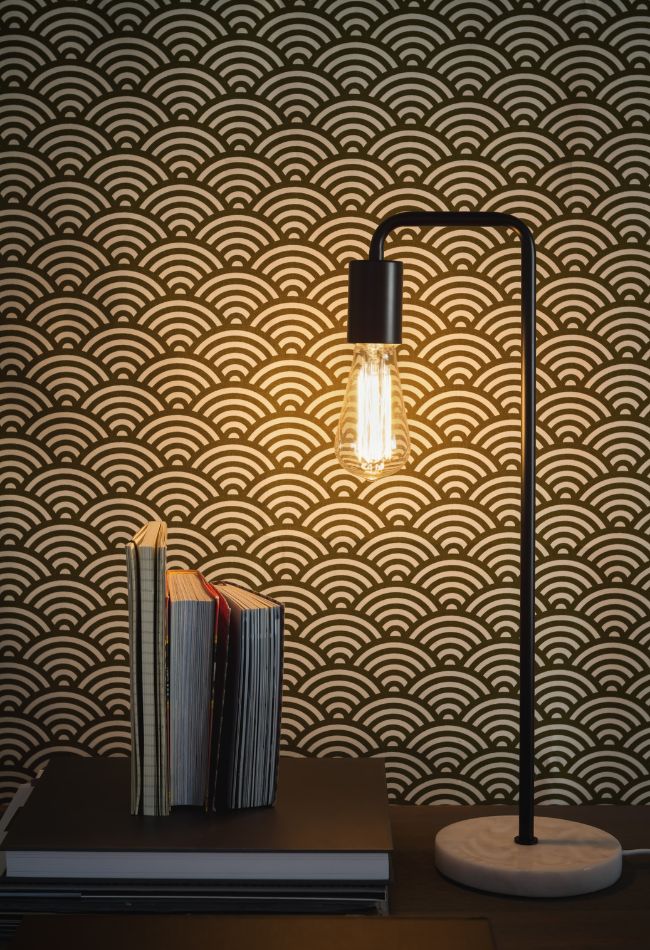
My favorite bulbs to use in these types of pendant lights are Edison Light Bulbs. They give off a nice glow.

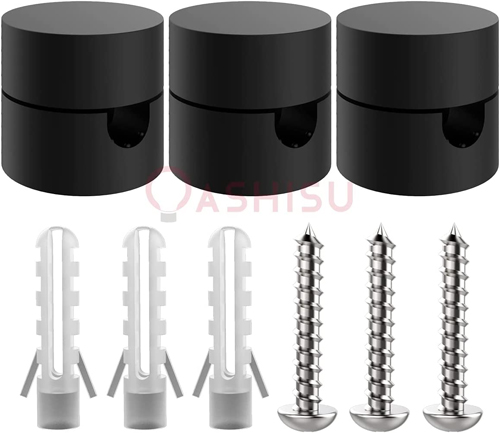
Step 4 – Hang the light with hardware
· Hang the lights with the hardware hooks that come with the lights.
· If you’re not a fan of how the hardware hooks look (and to be honest, I don’t like the hooks and plastic holders that came with the fixture above). I recommend either the hidden wire swag holders or these pendant hooks as an aesthetically-appealing alternative.
Want to know the instructions on how to swag your pendant light? Check out my article: How to Swag a Light Fixture that Hangs from a Cord or a Chain
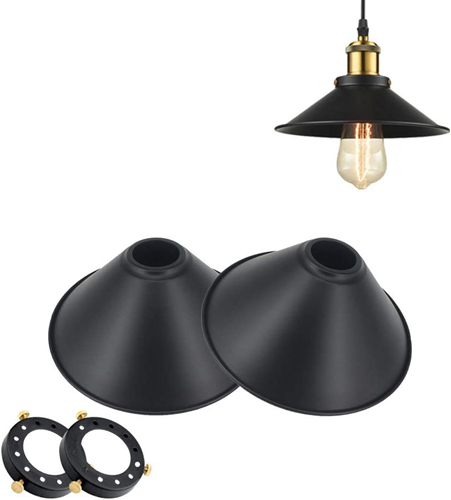
How to Make a Pendant Light with a Shade
Here’s a quick video to refer to:
Materials Needed
Plug-in cord kit with light socket and light switch
Step 1 – Remove the collar from the bulb socket
· Take the plug-in cord you purchased and find the socket end. Unscrew the shade ring around the socket. Sometimes it’s hard to see – it’s the collar that fits around the threaded part (bottom part) of the socket.
Note: Your plug-in cord will come equipped with a socket and light switch, which will save you both time and effort. There’s no advanced electrical knowledge required for this project. When you’re done putting it together, you’ll be able to plug it right into the wall outlet.
Step 2 – Attach the shade to the light bulb socket
· Take the shade ring with the 3 screws and place it on top of the round shade. Tighten the screws just a bit to secure them on the shade.
∙ Place the threaded side of the socket through the hole in the shade.
· Flip the shade upside down while holding the socket and shade together.
· Screw the original collar from the bulb socket back onto the shade. The collar will secure the shade to the socket.
If you’re having trouble putting the fixture together, check back to the video here.
Step 3 – Install the bulb
· Screw a lightbulb into the socket. These sockets hold an E-26 based bulb. I use an Edison bulb in the video, but you can use any type of bulb desired.
∙. Once you’re finished, plug the fixture into the wall and click the switch located on the cord and you’re all done.
You did it! You made your own pendant lighting! See, I told you it was easy. All you need is the right materials.
Additional Pendant Light Projects with a Plug-in Cord
If you loved making this new light fixture, consider these similar – and stylish DIY projects. They also make use of the plug-in cord that requires no wiring. The cords come in a pack of 3 from Amazon, so you’ll have extras for additional projects.
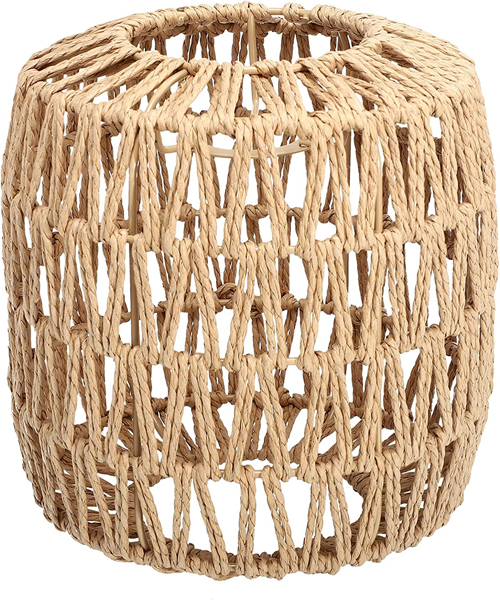
Rattan Lamp Shade – You can make a DIY basket pendant light by following the same steps as above. No electrical wiring is required.

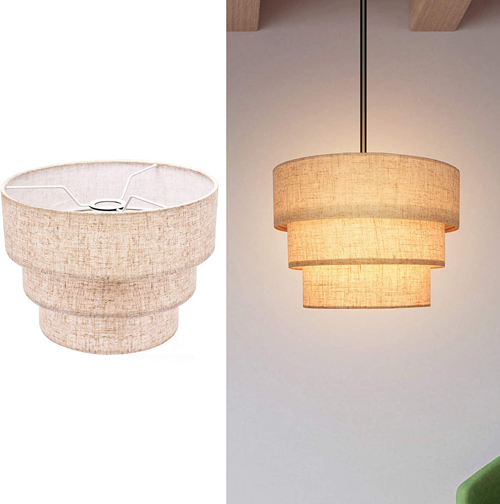
Drum Shade Pendant – You can also make a gorgeous pendant light with this drum shade.
Best Places to Hang Your New Pendant Light
When you’ve crafted your DIY pendant light, where should you put it? These lights are versatile and work in so many different rooms of a house. If you don’t create it with somewhere in your house in mind (or you’ve purchased enough supplies to make extra), here are some other places you can put them.
· In a reading corner
· Over bedroom nightstand
· Over a small dining table
· In a breakfast nook
· Over the kitchen sink
· In the corner of the family room
∙ Rooms where overhead lighting isn’t enough
Final Thoughts
Where do you plan to put your DIY pendant lights? Once you discover these fun lights and how easy they are to make, you won’t want to make and install just one in your home. You’ll begin to envision where else they can fit!
Until Next Time,
Cherie
Here are some related articles that you may enjoy:
How to Swag a Light Fixture that Hangs from a Cord or a Chain
60 Best Pendant Lighting Fixtures
27 Best Kitchen Light Fixtures for Low Ceilings
50 Best Modern Farmhouse Chandeliers and Lighting
Best Lighting for Your Laundry Room
Disclosure: Please note that some links in this post are affiliate links. At NO ADDITIONAL COST TO YOU, I will earn a small commission on any purchases made.