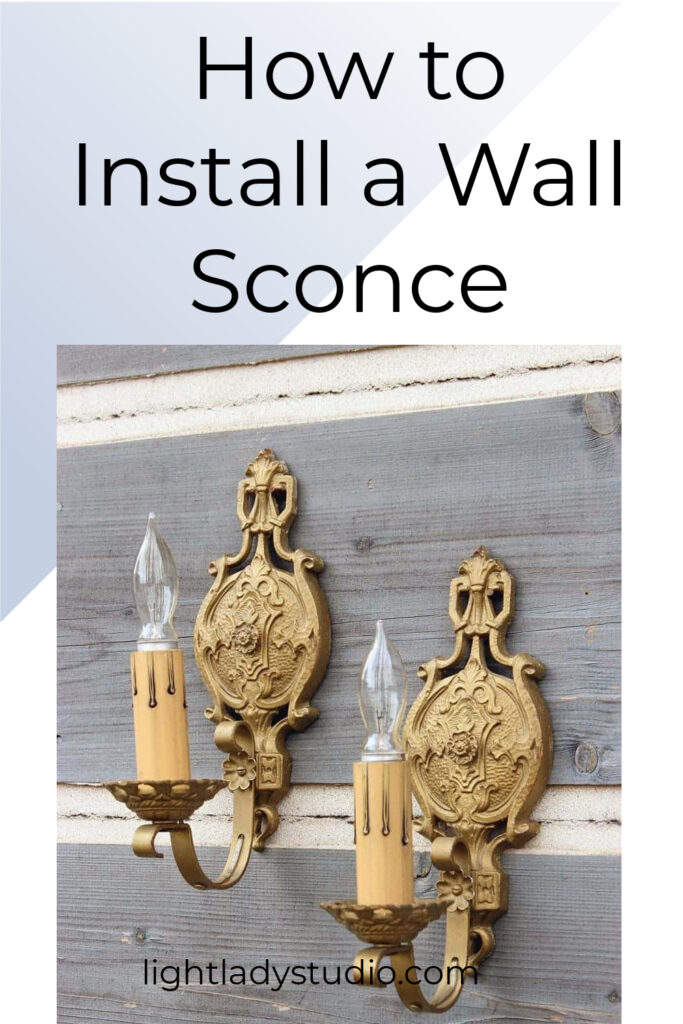
How to Install a Wall Sconce: Hardwired or Plug In
Decorating with sconces is an excellent way to update your home and bring a sense of style to your space. Whether you hardwire the fixtures to the wall or use plug-in sconces, installing a sconce is easy. You can finish the project in just a few short steps, even if you’re a complete novice. In this post, learn how to install a wall sconce whether it’s hardwired or plug in.

Note: Affiliate links may be used in this post. I may receive a small commission at no extra cost to you. More details are at the bottom of this post.
TABLE OF CONTENTS
Uninstall the Old Fixture
When dealing with electricity, safety is essential. Before installing your new fixture, head to that circuit breaker and flip the switch to cut the power source. This ensures there’s no longer any power going to the area you’re working on. Verify the power is off by flipping your light switch on and off.
Step 1 – Remove the Old Wall Sconce
After you’ve turned the electricity off, remove the light bulb. If the wall lights come with a glass shade, hold the shade in one hand. Unscrew the screws that lie against the shade with the other hand. Then carefully remove the glass shade by pulling it over the socket and off of the sconce. Put the shade aside.
Sharing is Caring – I’d love for you to pin it.
Place one hand on the sconce to hold it against the wall. Use the other hand to remove the nuts that hold the fixture in place. These should be located on the base of the light fixture. Pull the old sconce from the screws and mounting plate. The wires will still be attached.
Step 2 – Unattach the Wiring
Remove the wire nut from the black wires (hot wire) and from the white wires (neutral wire). Then remove the wire connector from the ground wire. Even though the electricity is off, it’s a good practice to keep the wires separated at all times.
Step 3 – Remove the Ground Wire and Mounting Plate
Grab your trusty screwdriver as it’s time to unscrew that green ground screw. Lefty loosey, righty tighty is still a thing! Once unscrewed, remove the ground wire from the plate. Your old fixture should now be completely unattached from the wall.
Take the screws out and remove the silver mounting plate from the junction box, so that you can install the new light fixture with the correct hardware.
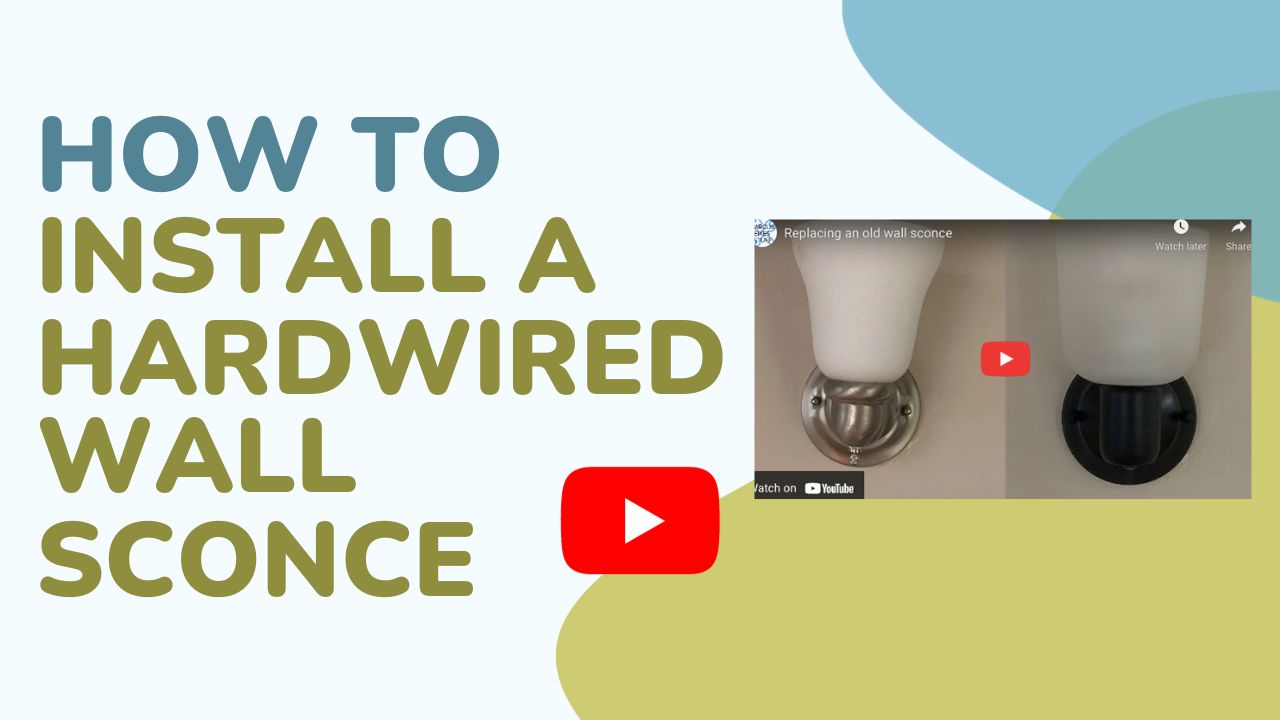
How to install a hardwired Wall Sconce
Materials Needed:
- Philips or flat head screwdriver
- Light fixture
- Optional: Drywall Anchors and Wire Cutters
Step 1 – Attach the New Mounting Plate
Before installing the new mounting bracket, make sure you have attached the sconce screws to it. When attached correctly, the threads should be facing you.
Place the mounting plate over the junction box lining up the holes and wall anchors. Screw the plate onto the junction box with the mounting screws.
Step 2 – Connect the Ground Wire
Take the ground wire from the wall and wrap it around the green ground screw on the mounting plate. Leave a few extra inches free at the end of the wire. Give the green screw a tighten with the screwdriver. Then take the wire and attach it to the ground wire from the new sconce and cap it off with a wire nut.
Step 3 – Connect wiring
Take the white wire from the sconce and the white wire from the junction box and connect them together with a wire nut. Repeat this process with the black wires. Carefully tuck all wires back in the junction box making sure all wire caps are secure.
Step 4 – Attach the Sconce to the wall
Attach the sconce to the wall by lining up the holes in the sconce to the screws on the mounting plate. Lay the sconce over the plate where the back of the sconce lies flat with the mounting plate and the screws stick out the front. Place the nuts on the screws and secure the sconce to the wall. You’re all set. If you have a glass shade, add the shade and screw in the light bulb.
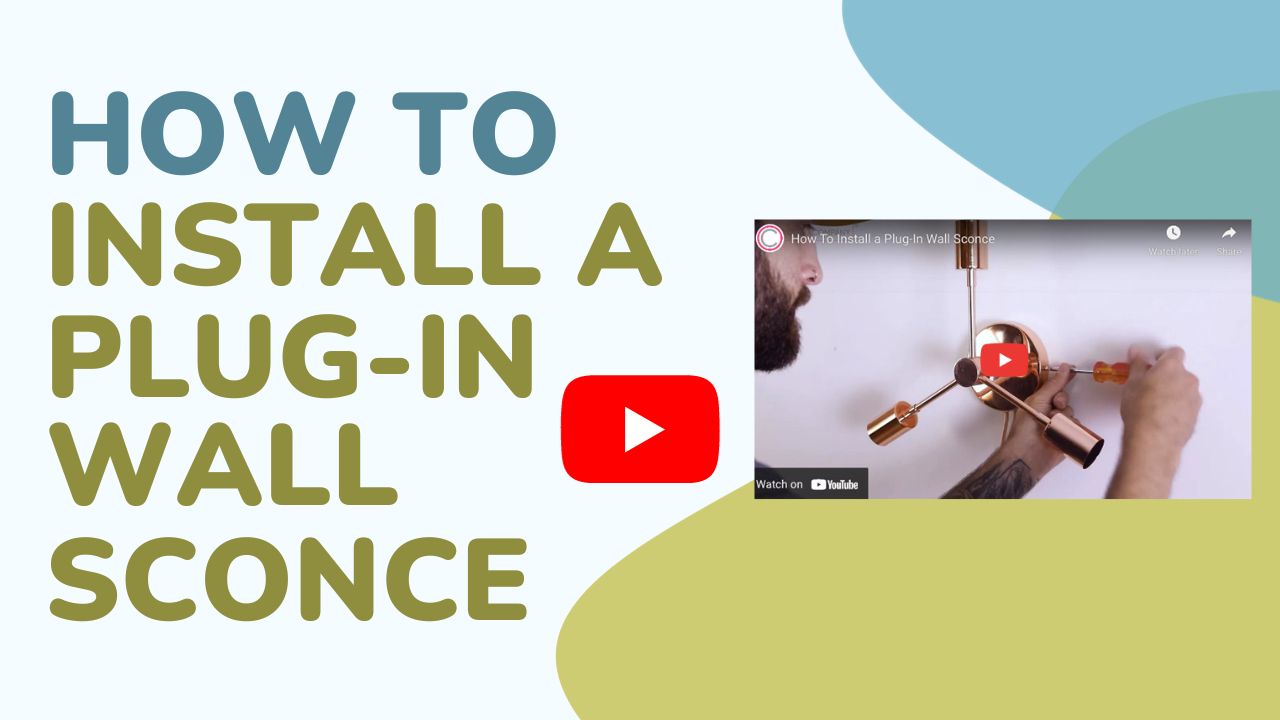
How to Install a Plug-in Wall Sconce
Materials Needed:
- Plug-in Sconce
- Phillips or Flat-head Screwdriver
- Optional but Recommended: Drywall Anchors (Not all sconce kits come with anchors or screws)
- Drill with appropriate size bits
Step 1 – Place the Sconce
Unbox your new sconce and locate your ideal placement on the blank wall. A general rule of thumb is, sconces are best hung at eye level. When you’ve decided on a spot, pencil in the correct placement by marking the holes where any screws or anchors will go.
Step 2 – Install Wall Anchors
Using a small drill bit, drill starter holes on your marked spots. Push the drywall anchors in the wall holes the easy way, either tap them with your hammer or the back of the screwdriver. Anchors will give the wall light a more solid fit within the drywall.
Step 3 – Install Mounting Plate
Line the mounting plate up with the wall anchors. Use mounting screws to attach the plate to the wall. Screw the mounting screws through the holes in the plate and into the wall anchors.
Step 4 – Attach the Plug-In Sconce to the Wall
Line up the holes in the sconce to the screws on the mounting plate. Lay the sconce over the plate where the back of the sconce lies flat with the wall and the screws stick out the front. Place the nuts on the screws and secure the sconce to the wall.
I hope you now learned how easy it is to install a wall sconce hardwired or plug in.
Are you looking to spruce up your home lighting without adding ceiling lights? You can check out this blog post on Creative Ideas for Lighting a Room Without Ceiling Lights.
You did it! Put your light bulb in, plug your light in, flip the switch, and enjoy!
Until Next Time-
Cherie
Related Articles:
How to Swag a Light Fixture that Hangs from a Cord or a Chain
Shop the 60 Best Pendant Lighting Fixtures
Best Office Lighting for Computer Work
50 Best Modern Farmhouse Chandeliers and Lighting
What To Do With Old Light Fixtures, Should I Sell, Trash, or Donate?
Please Note: You assume all risks for the material covered. You agree to hold harmless LightLady Studio from any and all claims and damages as a result of any and all of the information covered.
Disclosure: Please note that some links in this post are affiliate links. At NO ADDITIONAL COST TO YOU, I will earn a small commission on any purchases made.