How to Make a DIY Hanging Basket Light
Are you looking for a creative and charming way to light up your living space? Say hello to the DIY Hanging Basket Light!

This delightful and easy home decor project combines the beauty of hanging baskets with the warm glow of a pendant light, giving your space a cozy little vibe.
Whether you’re looking to spruce up your home office, breakfast nook, or dining room, this easy-to-make hanging pendant light will leave you feeling inspired. Let’s get started! *Note: Affiliate links may be used in this post. I may receive a small commission at no extra cost to you. More details are at the bottom of this post.
I found this You Tube video from Hunner’s Designs and I love what she did, so let’s talk about it. First take a look at her video here:

Watch How to Make the DIY Basket Light
Materials You’ll Need:
The materials you’ll need are easy enough to get and should be available in your local hardware store or home depot:
- Open weave basket/ Woven basket
- Light bulb
- Handsaw
- Light Cord Kit
- Wire cutters
- Heavy Duty Scissors
- Wrench
- Painter’s Tape
- Drill/ Screwdriver
Step-by-Step Guide:
Step 1: Find the Perfect Basket
The first thing you’ll need before anything else is an open-weave basket. If you have an old rattan basket gathering dust in your closet, it’s time to take it out for a revamp. If you don’t, you can check out Home Goods or even a local thrift store to buy one without going overboard with the price tag,
Ideally, you’ll want an open-weave basket that will allow plenty of light to pass through and create a lovely pendant lamp glow.
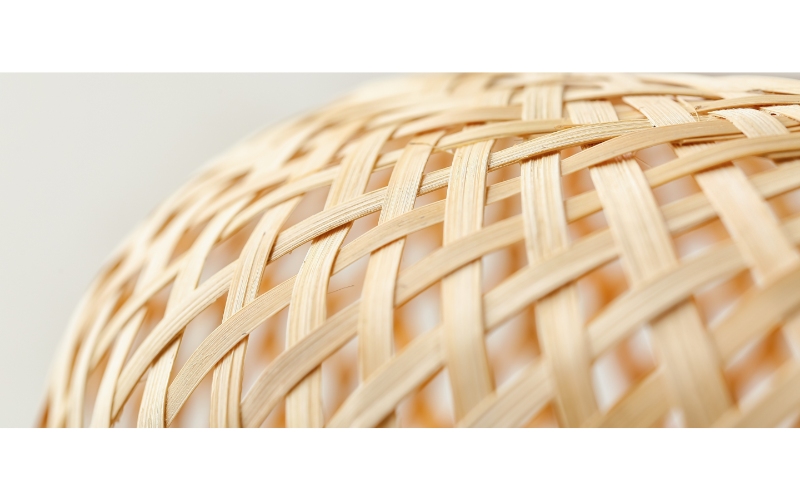
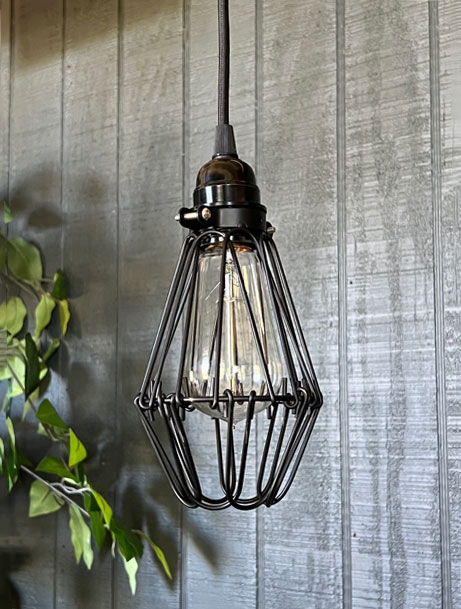
The Perfect Basket
Use a basket with an open weave like this. One that doesn’t have a metal frame and one that will cover up a light bulb when flipped upside down.
Step 2: Measuring and Cutting the Hole in the Middle of the Basket Based on Pendant Light’s Size
Once you have the perfect basket, determine how big the hole should be on the bottom of the basket. The size of the hole should be determined by the dimension of the pendant light kit you are using.
An easy way to figure this out is to place the socket that will hold the light bulb directly in the middle of the basket. Take a pen and draw a circle 1/8″ wider than the socket, all the way around.
After measuring and drawing your template of where to cut, use heavy-duty scissors to carefully cut the small hole in the bottom of the basket. Take your time, some baskets are thick.
If you have a basket with a frame, you can try to use scissors to cut the frame but more than likely, you’ll need to use a handsaw, Dremmel, or wire cutters to cut the frame.
Be careful not to make the hole too large because if that happens, there’s no going back. Cut the weave, then measure the hole with your socket, then cut again until you have the right size hole.
By the way, if your basket has handles, feel free to trim those off. I’ve seen the fixture done both ways, with handles and without, it’s a matter of preference. Personally, I like no handles.
Step 3: Drop the Light Kit Into the Basket
Once you have your basket with the hole cut out, insert the socket of the light kit through the hole.
Pendant Light Kit

Now you should have a hanging basket light – tah dah!
Step 4: Remove the Previous Fixture & Mounting Plate (if applicable)
Before beginning the installation process and if you are replacing an existing light fixture, make sure the breaker for the electrical circuit you will work on is turned off. You know the drill – safety first.
Once the breaker is turned off, carefully remove the old fixture from the ceiling. In some cases, you may also need to remove the mounting plate, also known as the cross bar, that held the previous fixture.
Untwist the wire caps to separate the fixture’s wires from the ceiling wires. Pay attention to the colors of the electrical wiring and note any that were not connected to anything previously.
Step 5: Install the New Pendant Mount
As mentioned before, your pendant light kit should come with a new cross bar. Take the bar and install it onto the ceiling. In the video, she used painter’s tape to temporarily hold the mount to secure it with screws. I had never see that before and thought it was a neat way to keep things stable.
Step 6: Adjust the Pendant Cord to Desired Hanging Level
Once the mount is securely in place, adjust the pendant cord’s length to achieve the desired hanging level for your basket light fixture. You may want to do a little bit of trial and error to test out different lengths to see what suits you best and what fits the room’s overall aesthetics before doing the final installation.
What Height Do I Hang My Basket Light?
- Over a kitchen island: Bottom of the light fixture should hang 32″- 36″ from the surface of the island
- In the center of the room with nothing below it: Allow 7′ of space from the bottom of the fixture to the floor
- Over a kitchen table: Bottom of the basket light should hang 32″- 36″ from the surface of the table
You may need a wrench to loosen the knot on your pendant lighting kit for you to make height adjustments. Honestly though, they make light fixture installation easy these days and you should be able to loosen and tighten the mount with your bare hand.
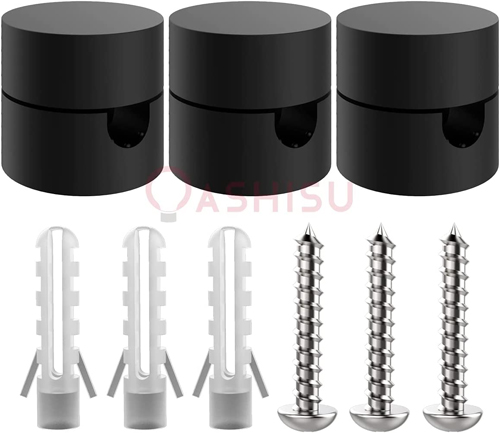
If you’re using a light kit that plugs into the wall, or you want to swag your basket light, these little swag holders are even better than using ceiling hooks.
Step 7: Coordinate and Twist the Electrical Cords Together
If you’re hardwiring the fixture to the ceiling, using a qualified electrician is the safest route. However, if you decide to diy it, take the wires from your basket light and connect them to the corresponding ceiling wires. Twist wire caps over the wires to cover them, providing proper insulation.
Step 8: Attach the Ceiling Canopy to the Ceiling
After wiring, push the canopy to the ceiling, covering the wires and newly installed cross bar. Follow the manufacturer’s instructions for properly securing the pendant to the mount, ensuring stability and safety.
Step 9: Turn on the Breaker
Finally, with everything securely in place, turn on the breaker, screw in the light bulb, and flip the switch to your new hanging basket light. Step back and give yourself a pat on the back- you did it!
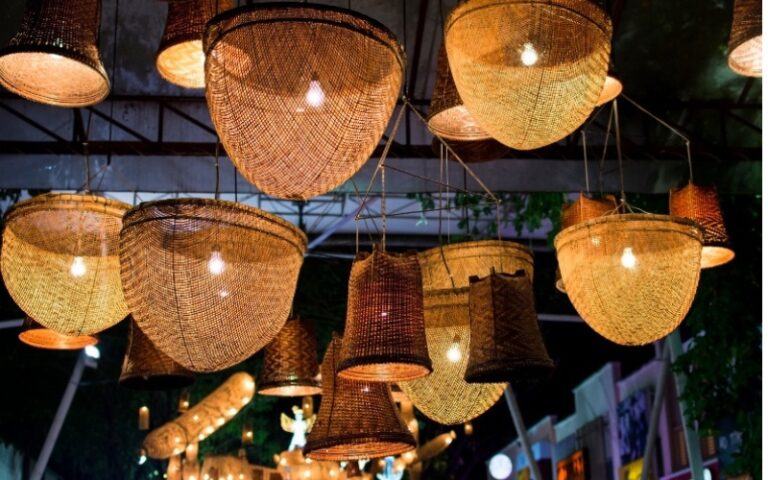
Step 10: Get Creative with Your Baskets
Don’t be afraid to get creative with your basket pendant lights. Here are some baskets in the upright position with the light dropped down in them. So cool!
Final Thoughts
Following these simple steps, you can transform an ordinary basket into a captivating DIY basket light that will bring style and flowing light to any room. Remember to prioritize safety and yes, read the instructions provided with your specific pendant light kit. I know you don’t want to but you should.
If you’re looking to add a touch of uniqueness and ambiance to your living space, creating a DIY basket pendant light is a fantastic way to achieve that. With just a few materials and one easy step at a time, you can transform an old basket into a stunning lighting fixture.
Enjoy the warm and inviting ambiance that your new hanging basket light creates!
Disclosure: Please note that some links in this post are affiliate links. At NO ADDITIONAL COST TO YOU, I will earn a small commission on any purchases made. LightLady Studio is a participant in the Amazon Services LLC Associates Program, an affiliate advertising program designed to provide a means for sites to earn advertising fees by advertising and linking to amazon.com. Amazon and the Amazon logo are trademarks of Amazon.com, Inc. or its affiliates.