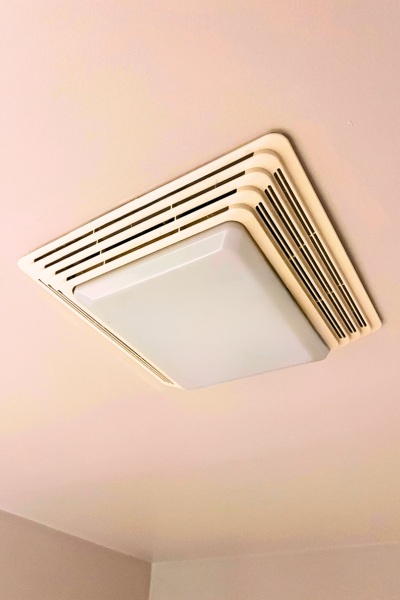
Clean Your Bathroom Exhaust Fan (With Light)
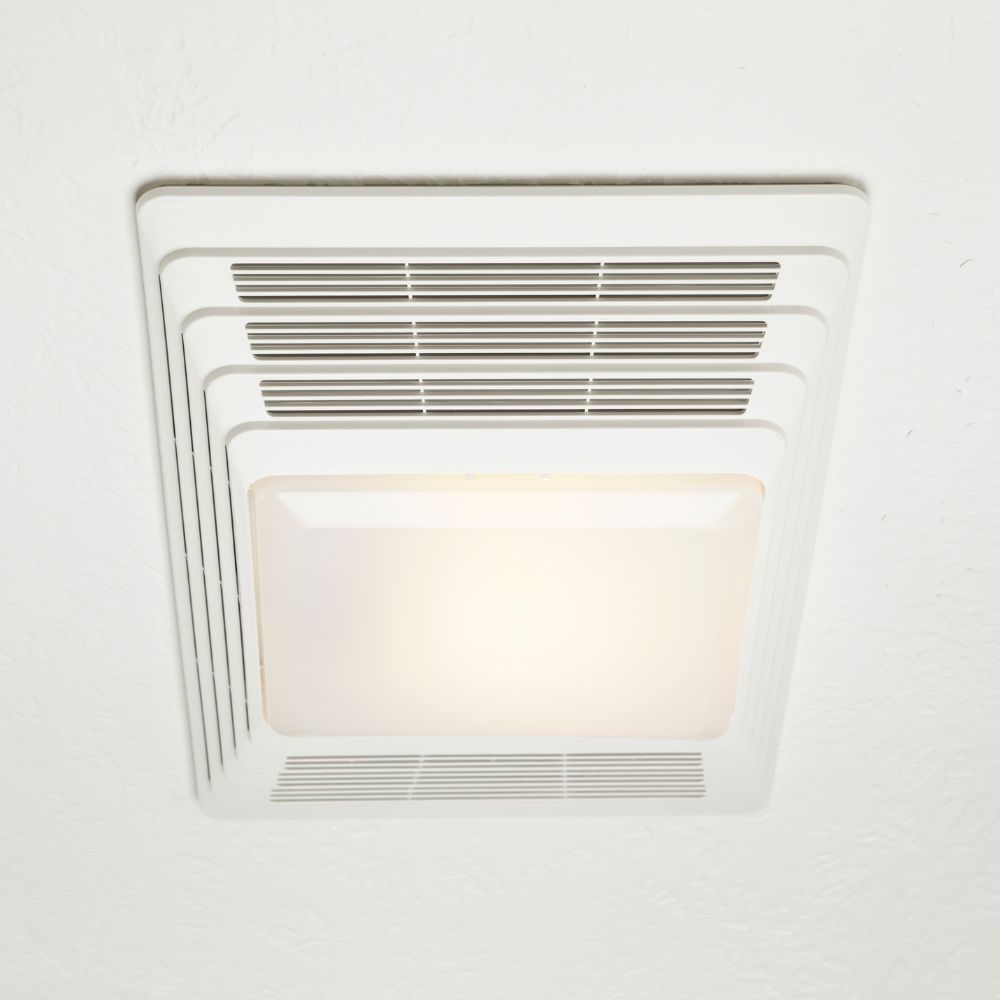
Have you looked at your bathroom exhaust fan lately? You may be in for a rude awakening if you haven’t checked it in a while. Without regular maintenance, you’ll find caked-on grime and a buildup of dust living in the vents. Exhaust fans are supposed to help remove excess moisture buildup and odor as well as prevent mold and mildew.
If you’re looking up at your exhaust fan without a clue about where to begin, I have some good news for you! Cleaning is relatively simple to do. Here are the easy steps on how you can do some thorough cleaning on your bathroom exhaust fan. *Note: Affiliate links may be used in this post. I may receive a small commission at no extra cost to you. More details are at the bottom of this post.
Why Clean the Fan?
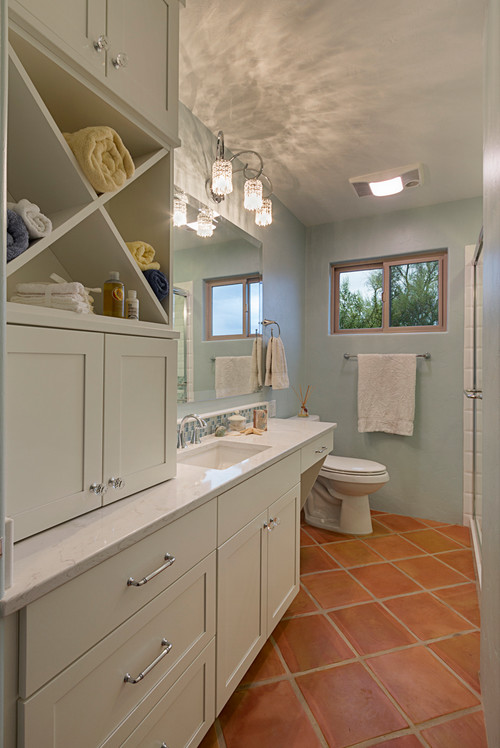
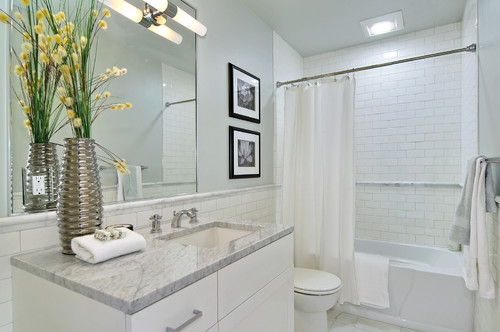
Bathroom ceiling exhaust fans are a vital element in a bathroom, especially a small bathroom. A small space can get more humid than a larger space, so the need for a bathroom fan is greater. In general, a bathroom exhaust fan exists to help refresh the room and boy does that space need refreshing now and again.
It removes both moisture and bathroom odors by moving the air around. So, it’s like a traditional fan. Unlike a traditional fan, however, the blades are angled to pull air and excess moisture up from the room. This air is directed to the ventilation duct, so it can go outside. Without a bathroom fan, the growth of mold and mildew can come into play, causing significant health issues.
How to Clean a Bathroom Exhaust Fan
Don’t let your bathroom fan intimidate you. Here are some simple steps that will allow you to effectively clean the fixture. This video is an easy tutorial- I just wish he would have turned off the electricity off first.

My instructions are a little bit different than his but either way, your fan will get clean and that’s the goal.
Step 1 – Turn Off the Electrical Current or Power Switch
Before cleaning, be sure to shut off the power to the bathroom exhaust fan at the wall switch or circuit breaker. This is essential for safety reasons – you want to avoid getting shocked by the fan or light.
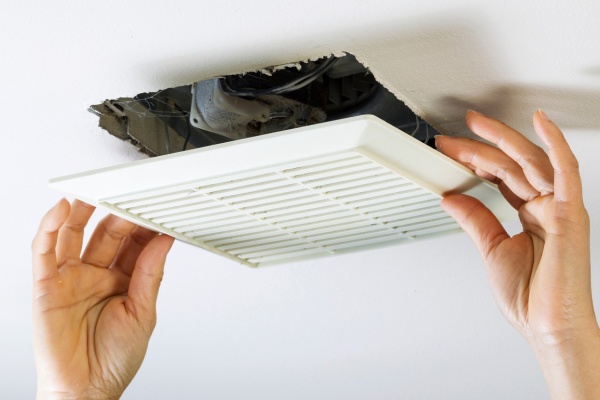
Step 2 – Remove the Plastic Cover
Use a sturdy step ladder, step up to the fan, and remove the cover plate. Depending on your fixture, you may need to remove the screws that hold it in place. Or, there are some models where you slightly press the end tabs to remove the cover and others that are easily removed by just pulling down on the vent.
Eye protection is a must when cleaning a bathroom fan. I’ve gotten an eye full of dust without wearing glasses. Plus it sounds silly but don’t forget to close your mouth – seriously! 🙂
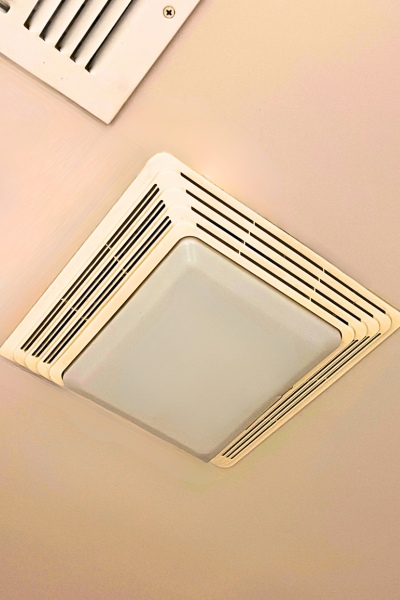
Step 3 – Remove the Light Bulb
Since we already switched off the electricity, you don’t have to worry about getting an electric shock. If your exhaust fan is a light fixture too, light bulbs will be inside the vent. If the bulbs are relatively new, you can unscrew and remove them and wipe them down with a dry rag. These light bulbs get really nasty. If the bulbs are dark gray, black, or non-functional, you should go ahead and replace them.

Step 4 – Remove Center Nuts
Once you remove the bulbs, you can then see the center nuts – these are the metal hardware that holds the base plate assembled to the center post. These will be tightly installed and challenging to remove, you’ll need flat-head pliers or screwdrivers.
It’s a good idea to take extra care in keeping the nuts with you. Since these are small, it’s easy to lose them. You don’t want to find out that you’re missing parts once you try to assemble everything back together.
Step 5 – Remove the Fan Grating
The fan grating is meant to protect the cables from getting damaged and also protects the user from injuries. Once the center nuts are removed, the grating should easily be removed by a gentle pull. It’s also best to pull slowly since you’ll find that there is a wire connector that needs to be unplugged.
Step 6 – Clear Any Visible Dirt or Dust
When you take off the cover, you’ll see a lot of visible dirt built up. You’ll want to clean this hard-to-reach dirt with an electric air duster if you have one available. This allows you to clean the area thoroughly without risking the fan getting wet and damaging the motor. If not, use a household brush or paint brush to remove the dust.
Light bulb: As mentioned before, if the bulb is relatively new you can clean it and install it back again. To clean it, it’s ideal to use a dry cloth. If you’re using a damp microfiber cloth, make sure that the bulb is completely dry and cool to the touch before installing it again.
Fan grating: Soak the bathroom fan cover in warm water with drops of dish soap. Scrub it gently with a microfiber damp cloth to dislodge any dirt. Set aside to air dry.
Fan blades: Remove the fan blade from the motor to clean it. In some models, you’ll also be able to remove the complete motor assembly, but this may not always be possible. However, you can always use a paintbrush or electric air duster to remove as much dust buildup as possible.
You should also wash the fan blade in a deep sink with warm soapy water. Allow it to air dry.
Fan’s cover plate: To clean the fan cover plate, you can soak it or rinse it with water with soap. You can also opt to use a dampened clean cloth. Once clean, you can place the plate under a fan to dry or just let it air dry.
Step 7 – Reinstall All Parts and Test
This step is optional depending on whether you removed the blade. If you did, you’ll need to dry and reattach the vent fan blade. Be sure it’s secure once you replace it, so it doesn’t hit the fan cover when in use.
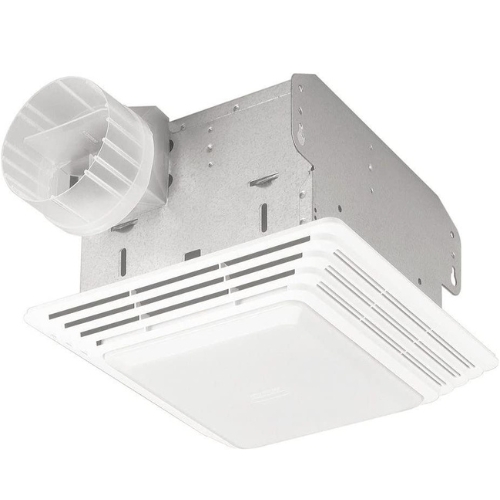
If you find that your exhaust fan is too old and needs replacing click here for a new option.
If you get stuck, refer back to the video here.
Dry off the vent cover and reinstall it by clipping the cover back into place. Secure the screw if needed. Turn the breaker or wall switch back on to test the vent fan. Running it for a few minutes can help you verify nothing is loose.
That’s it! You’ve done it. Now, you can fully enjoy your clean bathroom fan.
Cleaning a bathroom exhaust fan allows it to last longer because the motor doesn’t have to work quite so hard. Plus, avoid making your bathroom from becoming one of the breeding grounds for mold growth and enjoy a healthier and more pleasant bathroom environment.
See? Cleaning your exhaust fan isn’t so hard. Keep your fan functioning effectively and enjoy better indoor air quality in your bathroom.
I hope these tips helped!
Until Next Time,
Cherie
Related Articles
–The Difference Between Accent, Ambient, and Task Lighting
–Light Fixtures to Brighten Up Your Dark Pantry
–How Does a Plug In Swag Chandelier Work?
–Cozy Ideas for Lighting Up Your Reading Nook
–Best Over-the-Sink Kitchen Lighting Ideas
Disclosure: Please note that some links in this post are affiliate links. At NO ADDITIONAL COST TO YOU, I will earn a small commission on any purchases made. LightLady Studio is a participant in the Amazon Services LLC Associates Program, an affiliate advertising program designed to provide a means for sites to earn advertising fees by advertising and linking to amazon.com. Amazon and the Amazon logo are trademarks of Amazon.com, Inc. or its affiliates.