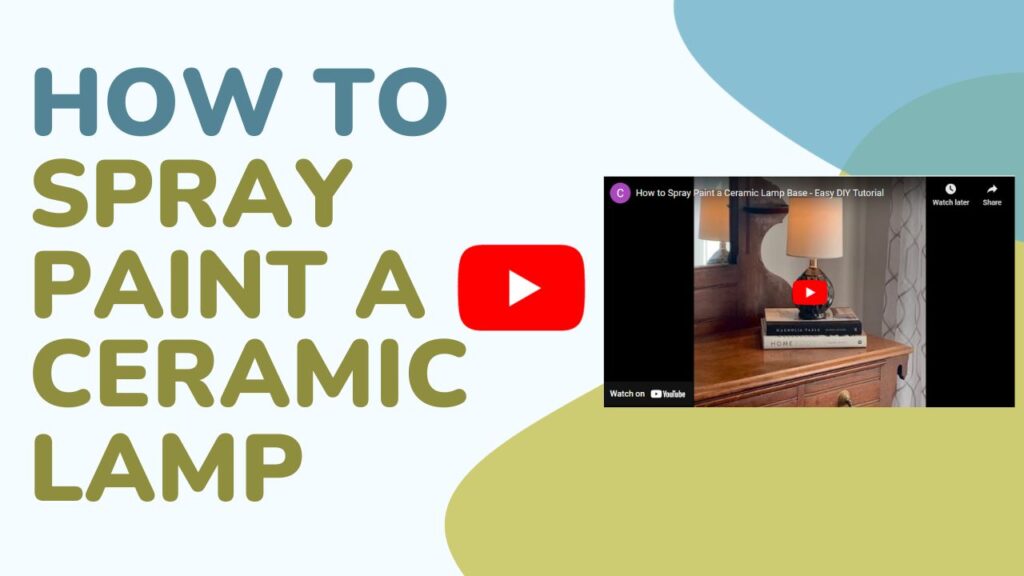
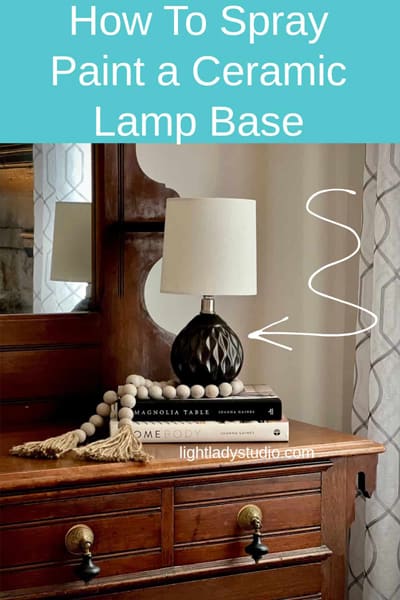
How to Spray Paint a Ceramic Lamp: DIY Tutorial
Do you have a ceramic lamp you’d like to decorate with but the color isn’t right? Did you know that in a few short steps you could change the whole look of the fixture? You sure can. In this post, I’ll show you how to spray paint a ceramic lamp base.
It takes only a few minutes to spray paint your ceramic lamp and take it from boring to beautiful. Let me show you how. Note: Affiliate links may be used in this post. I may receive a small commission at no extra cost to you. More details are at the bottom of this post.
Materials Needed:
- Ceramic Lamp – Glazed or Matte Finish
- Paint – Krylon Fusion All-In-One Paint + Primer
- Painter’s Tape
- Face Mask (I bet you already have one)
- Paint Thinner or Mineral Spirits (optional)
- Small Paint Brush or Craft Brush (optional)
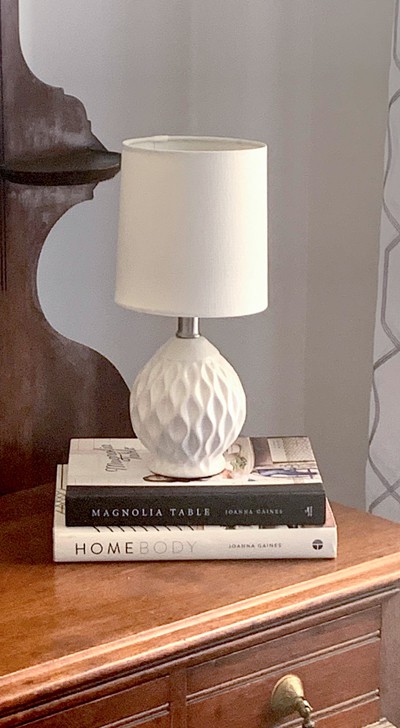
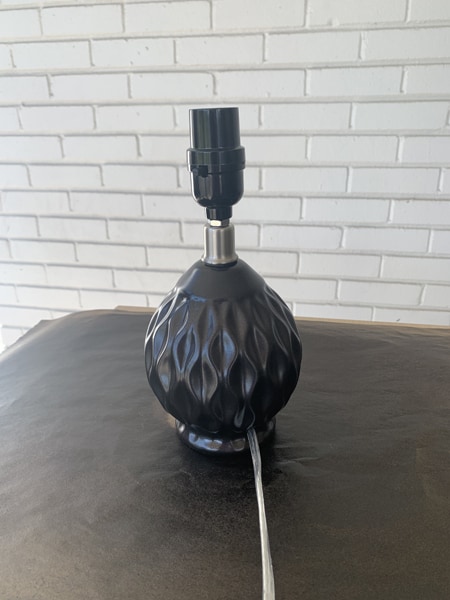
For this project, you can use any ceramic lamp, old or new. If you’re on the hunt for an old ceramic lamp, try a thrift store like Good Will or Habitat for Humanity. It doesn’t matter if the lamp has a glazed ceramic finish or a matte finish, this painting method will work for either.
If you are going to use an old lamp, be sure to check that the base is nice, with no dings or cracks. Also, check the wiring and plug to make sure they’re in good shape.
Sharing is Caring – I’d love for you to pin it.
Prepare Your Lamp
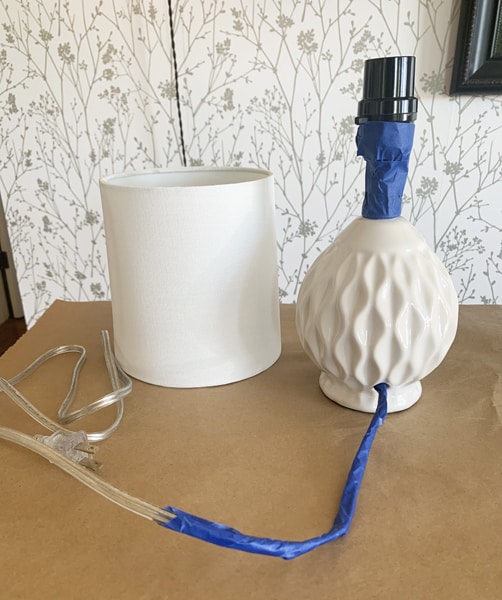
If the lamp has a finial (top piece) unscrew and remove it. Take the lampshade off and set it aside.
Wipe down the lamp base with a clean cloth dipped in a solution of warm water and mild soap. Finish with a dry cloth making sure the ceramic surface is dry and clean.
By the way, you can do this project with a ceramic vase too, it doesn’t have to be a lamp.
Tape the Lamp with Painter’s Tape
Use painter’s tape to tape off the neck of the lamp. If you’ve never spray painted before, you may want to tape the neck and the entire socket. It’s better to be safe than to get paint in places you don’t want it.
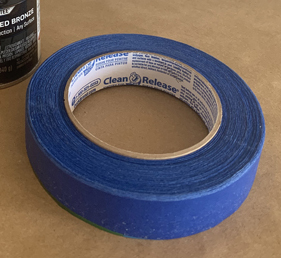
Cover the cord with painter’s tape. It’s easiest to tear the tape off in 3-4″ pieces and wrap it around the cord. Wrap approximately 12″ of the cord.
Choose The Correct Paint
When shopping for spray paint, there’s no such thing as a paint sample that you can take home. The lid is the only thing you’ve got to go off of, so be sure to study the lids carefully.
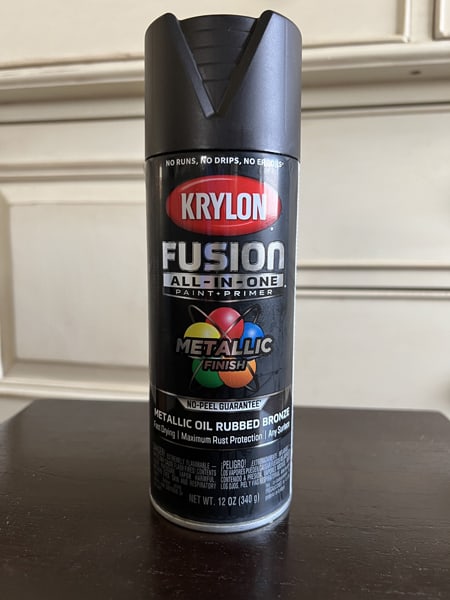
My favorite paint brand for this project is Krylon Fusion, it’s not regular spray paint, it’s special. When using this paint, no spray primer is necessary. It’s an all-in-one paint and primer with a no-peel guarantee. You can buy the paint in an array of colors at Amazon or Lowes.
The can states: Use on all metals, woods, plastics, laminates, masonry, concrete, wicker, ceramic, glass, plaster, and hard-to-adhere surfaces.
Looks like you can use this paint to spray a glass base lamp, a metal lamp, or basically any lamp you want. It doesn’t get any better than that.
There is another kind of paint that can be used. It’s Krylon Interior-Exterior Paint but it’s more for a matte ceramic base instead of a glossy finish lamp.
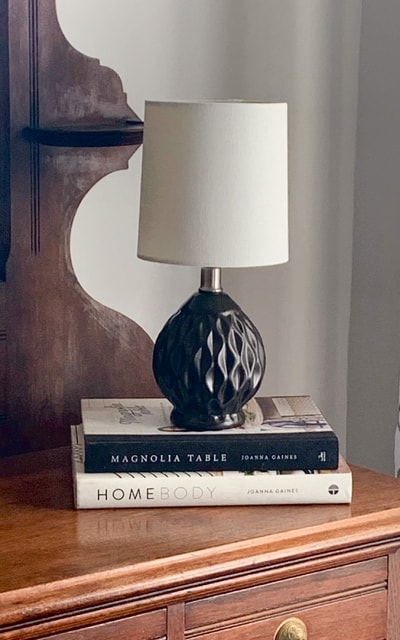
Since my fixture had a glossy finish, I went with the Krylon Fusion in the Metallic Oil-Rubbed Bronze color. It’s a blackish-brown with tiny gold flecks
With the type of paint we’re using for this project, there is no need to use sandpaper. yay!
How to Spray Paint a Ceramic Lamp Base
Now for the fun part. You’ll want to spray outdoors or in a well-ventilated area. It’s best to use spray paint when the temperatures are between 55 and 75 degrees and the humidity is below 60% but honestly, when are weather conditions perfect? Just do the best you can do.
The directions say to shake the can for 1-2 minutes. That doesn’t seem like a long time but it really is. I’m not gonna lie, I shook the can for about 30 seconds and I felt like I was good to go.
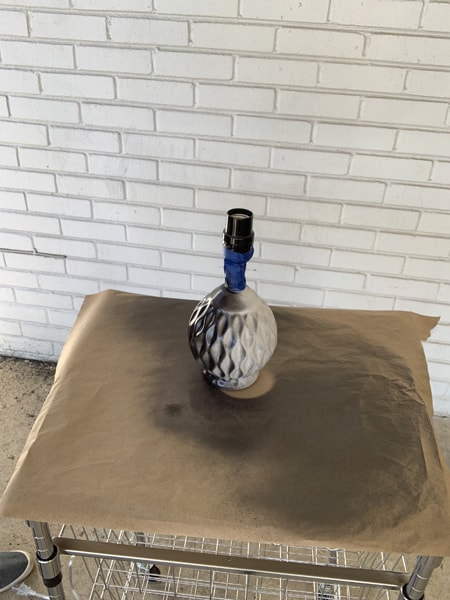
To paint, hold the can 8-10″ from the surface of the lamp base and spray light coats in a sweeping motion from side to side (see video above). To avoid drips, try not to get closer than 8″ to the surface. The first coat is not likely to cover the entire lamp and that’s ok. With spray painting, less is best. You can always add paint but you can’t take it away.
As you spray, grab the neck of the lamp and slowly turn the fixture spraying with a sweeping motion. Keep spraying until the entire lamp has its first full coat. Wait 1 minute between coats and then repeat with the second coat of paint.
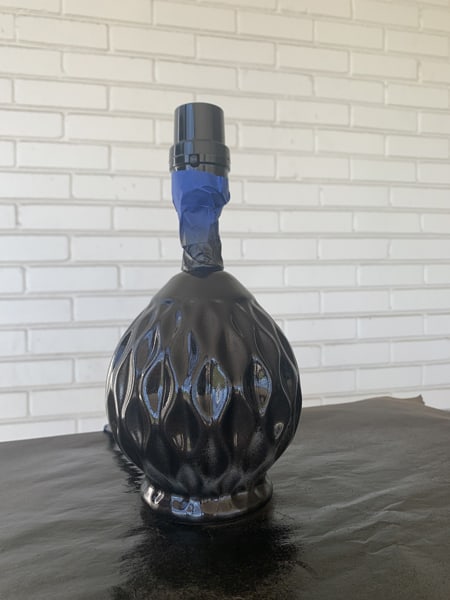
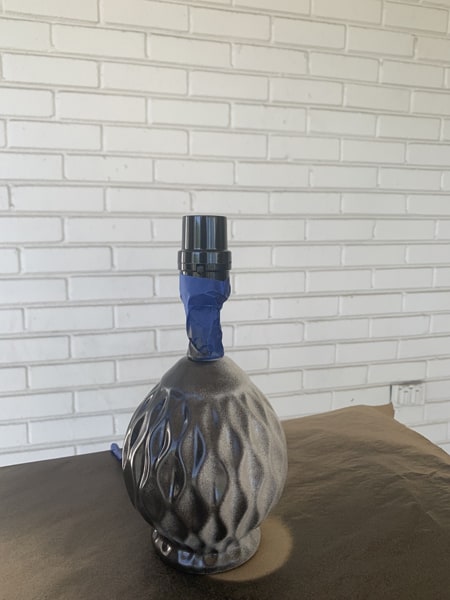
Repeat the process as many times as it takes to get a beautiful finish. Usually, two light coats will work but sometimes it takes three.
The fixture will dry to the touch in 20 minutes. You need to wait for an hour before handling the lamp to ensure the fixture is fully dry with a permanent bond. However, you might not be done quite yet.
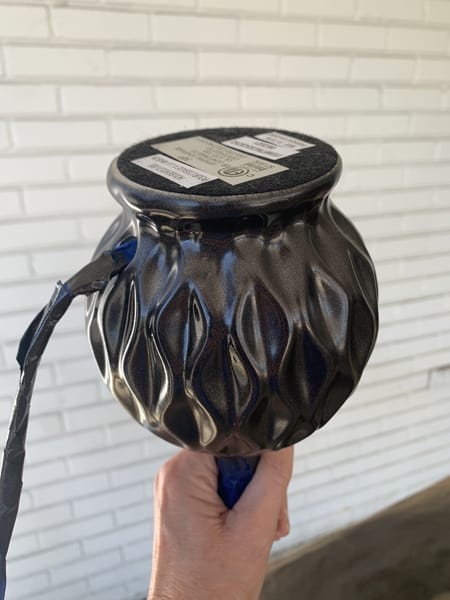
The next step, after the paint has dried, is to pick the lamp up and carefully turn it upside down. More than likely you’ll have some unpainted areas around the base of the lamp. If so, hold the lamp in one hand (if possible) and paint with the other holding the can at least 8″ from the surface of the lamp. Let the fixture dry.
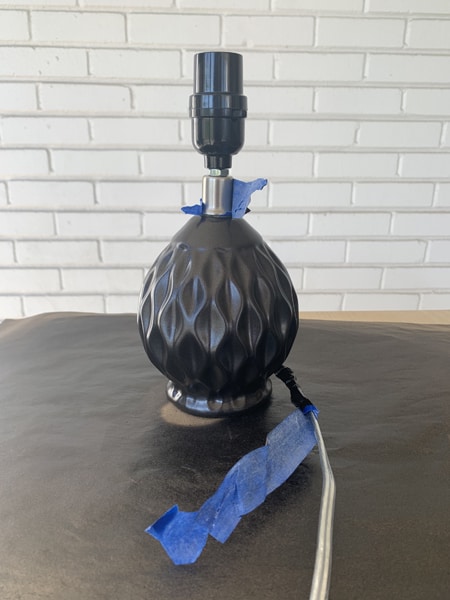
Remove the Painter’s Tape
When the paint is fully dry, carefully remove the painter’s tape from the lamp neck and the cord. It’s important to remove the tape as soon as the paint is fully dry. I’ve found that this kind of tape has a tendency to get sticky the longer it’s in place – especially on the lamp cord so it’s best to remove it as soon as you can.
After you’ve removed the tape you may find that there’s a spot on the lamp that the paint didn’t cover. No matter how good your tape job is, there’s always that spot. Do not be tempted to go back and spray paint the spot. This is where mistakes happen.
The easiest thing to do is to spray a little bit of paint in a paper cup and then dip a small paintbrush in it. Paint the areas that were missed with the paintbrush. It may take several brush strokes to fully cover the area but keep at it until you like the result.
If you find unwanted paint on the neck of the lamp, the socket, or the cord, you can dip a paper towel or clean rag into a solution of paint thinner or mineral spirits diluted with water and carefully wipe away the excess paint.
After you’ve removed the tape and made all corrections, replace your lampshade.
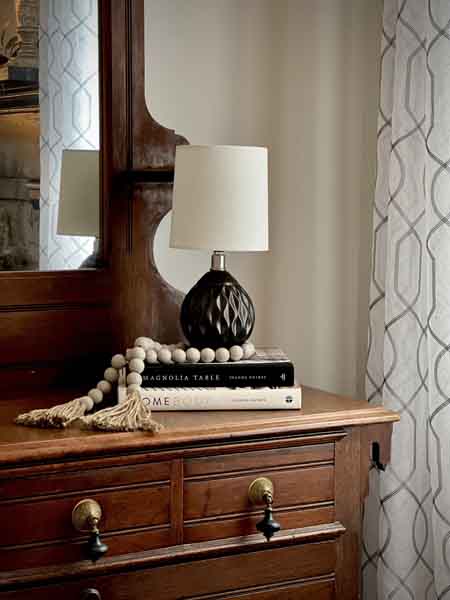
Stand back and admire your work. You just gave an old lamp a whole new look – and I bet it’s fantastic!
If you’re looking to DIY other lighting fixtures for your home, you can check out my blog post on How to Make a Pendant Light: Easy Step-by-Step Tutorial.
I hope that you now know how easy it is to spray paint a ceramic lamp base. I’d love to see your lamp. Please be sure to send me a photo of your finished masterpiece.
Until Next Time-
Cherie
Related Articles:
How to Find the Best Lamp Repair Service
27 Best Kitchen Light Fixtures for Low Ceilings
How to Make a Pendant Light: Easy Step-by-Step Tutorial
DIY Chicken Feeder Pendant Light
Disclosure: Please note that some links in this post are affiliate links. At NO ADDITIONAL COST TO YOU, I will earn a small commission on any purchases made.